
Cardboard is an inexpensive and easily accessible material that has a wide variety of uses. From moving boxes to arts and crafts projects, cardboard is a handy item to have around. However, it does have some drawbacks—namely, its lack of durability. Plain cardboard can easily tear, dent, and lose its shape when subjected to weight or moisture.
Luckily, there are several simple techniques you can use to turn that flimsy cardboard into a tougher, more rugged material. With some basic supplies and a bit of time, you can transform cardboard into a sturdier substance that can better withstand daily wear and tear. Read on to learn various methods for making your cardboard stronger and more rigid.
Why Reinforce Cardboard?

Before diving into the how-to, let’s first go over exactly why you might want to reinforce cardboard in the first place. Here are some of the main reasons to create tougher cardboard:
Create Sturdy Storage Boxes
Transforming cardboard into a sturdier material can empower you to craft robust storage containers that resist collapsing under the weight of their contents. Reinforced cardboard boxes, particularly when aiming to safeguard heavier items such as books and tools, offer a reliable solution. To achieve this durability, one key aspect is to discover how to harden cardboard. This innovative method not only ensures the structural integrity of the boxes but also enhances their overall utility, providing a dependable storage solution for various applications.
Craft Long-Lasting Items
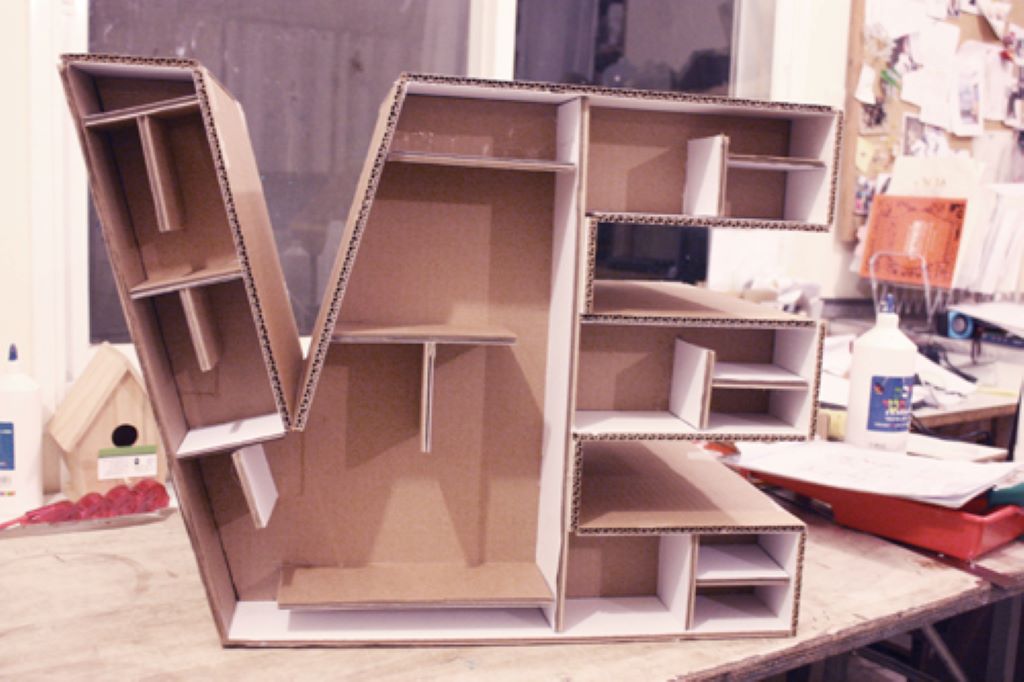
For crafters and artists, transforming cardboard creates a hardy medium for making decorative objects, furniture, outdoor signage, and more that will stand up to repeated use. Pieces made from sturdier cardboard will have greater longevity.
Add Support for Structures
When using cardboard for structural purposes, like making furniture or playhouses, a flimsy cardboard material won’t properly support weight and stress. Reinforcing it provides the strength and stability needed for these larger-scale and more heavy-duty uses.
Protect Items During Transport
For moving or shipping breakable possessions, reinforced cardboard offers additional protection for delicate items. The rigid material is better able to absorb impacts without damage.
Increase Versatility
The more durable construction allows cardboard to be utilized for more purposes and withstand more wear than typical cardboard. With reinforcement, cardboard can serve as material for outdoor use, heavy items, and frequent handling—broadening its range of possible applications.
Supplies Needed to Reinforce Cardboard
Many of the supplies required for the following cardboard reinforcement techniques can be easily found around the house. Here are some of the basic items you’ll need:
- Cardboard (corrugated preferred for best results)
- Scissors or utility knife
- Ruler or straightedge
- Pencil
- Wood glue or white glue
- Paintbrush, roller, or spray bottle for glue application
- Duct tape and/or packing tape
- Stapler and staples
- Sandpaper (optional)
- Acrylic paint or spray paint (optional)
- Wood strips, dowels, or boards (for some methods)
Before beginning any cardboard project, make sure you have these core supplies on hand. Let’s now go over some of the top techniques for turning cardboard into a sturdier material.
Method #1: Laminate with Glue
One of the easiest ways to make cardboard stronger is by laminating it with white glue or wood glue. This layered gluing process adds rigidity and structure to cardboard. Here are the simple steps:
Steps:
- Lay out cardboard on a flat surface. Cut it to desired size if needed using a scissors or utility knife.
- Apply a layer of glue (white or wood glue) across the entire surface using a paintbrush, roller, or glue spreader. Use enough to thoroughly coat the cardboard.
- Place a second piece of cardboard directly on top of the glued piece. Press down firmly so the glue adheres the two layers together.
- Smooth down the cardboard sandwich thoroughly to remove any air pockets between layers. Ensure the two pieces are tightly bonded.
- Clamp the cardboard layers with C-clamps, heavy books, or other weights. This keeps the bond tight as the glue dries. Let dry completely.
- For even more rigidity, repeat steps 2-5 to add additional cardboard layers with glue, building up 3-5 total glued layers.
- Once the final layer is dried, the reinforced cardboard is ready to use! Trim edges or cut into desired shapes as needed.
The laminated cardboard will now be thicker and more rigid thanks to the stacked glue layers. This simple gluing method transforms flimsy cardboard into a tougher material.
Why It Works
Gluing multiple cardboard layers together creates a stronger composite material. The adhesive glue bonds the separate layers so they work together as one unified rigid piece. The more layers glued, the more rigid the cardboard becomes.
Method #2: Fuse with Tape
Another easy at-home reinforcement technique is coating cardboard with duct tape or packing tape. The tape adds a protective outer layer and seals corrugation edges.
Steps:
- Prepare the cardboard piece by cutting it to size and taping up any loose seams or edges.
- Apply a strip of tape lengthwise across one face of the cardboard, pressing firmly to adhere. Tape just up to the edges.
- Flip and add a second strip so the two tapes overlap slightly. Run strips the entire length of the cardboard.
- Rotate and add strips vertically along the width of the cardboard until the entire surface is covered in tape.
- Once the front is fully taped, flip and repeat on the backside.
- Use sharp scissors or a utility knife to trim off any excess overlapping tape edges for a neat finish.
- For high-use items, add a second layer of tape over the first for extreme durability.
The tape gives the cardboard a smooth, reinforced covering that greatly strengthens it while also sealing up any vulnerabilities. Packing tape generally provides the strongest hold, but duct tape can work too.
Why It Works
The adhesive tapes create an outer shell around the cardboard that helps hold it together. This keeps pieces from splitting at the seams or corners. The tapes also seal up the corrugated edges to make them more rigid.
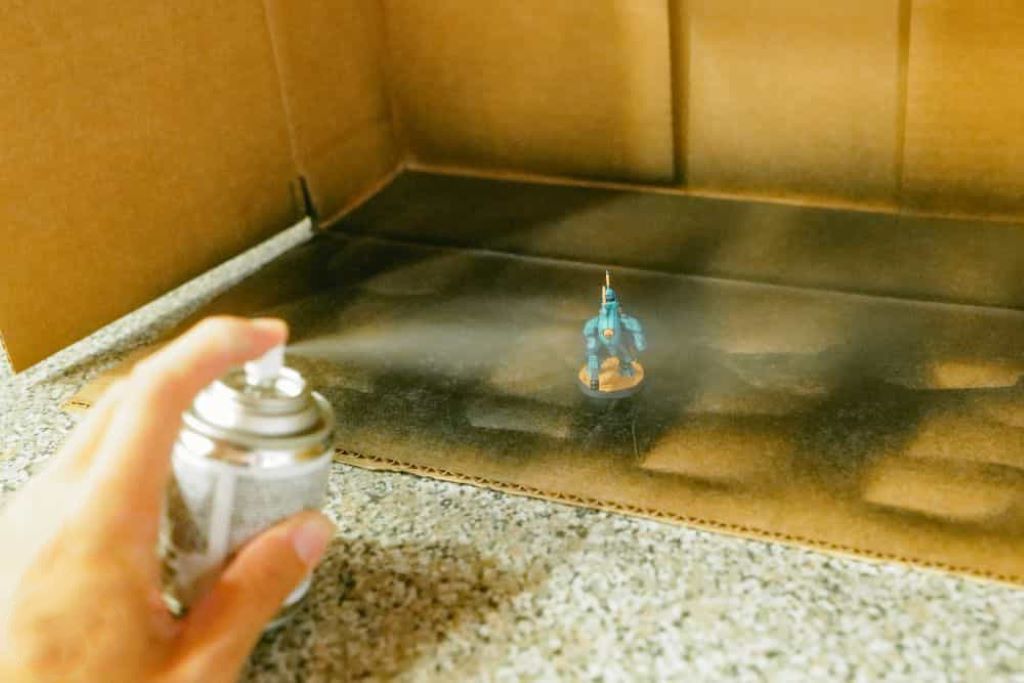
Method #3: Coat with Paint or Varnish
Applying acrylic paint, spray paint, polyurethane, or other sealants is an easy way to add a protective coating that stiffens up cardboard’s structure.
Steps:
- Cut cardboard to the desired size and prep the surface by sanding lightly (optional).
- Brush, roll, or spray acrylic paint, spray paint, wood finish, or clear coat onto the front cardboard face. Apply 1-2 even coats.
- Allow paint or sealant to fully dry between coats. Lightly sand any drips or uneven areas.
- Once the front is dry, flip and paint the back side. Allow to dry fully.
- For best protection, apply 2-3 total coats to each side and all edges. Allow to cure 24-48 hours before use.
- Optionally, cut into desired shapes once the paint is completely cured. Wear gloves to avoid getting oils on the sealed cardboard.
The paint or sealant soaks into the cardboard fibers and hardens to create a stiff outer barrier that keeps the inner corrugation reinforced and rigid.
Why it Works
As paints and varnishes cure, they create a hardened plastic-like shell around the exterior of the cardboard. This adds structure and stability while also sealing up porous corrugated edges. The coating prevents moisture damage and keeps the inner structure intact.
Method #4: Insert Wood Strips
For extra strong results, wooden slats, strips, and pieces of dowel rods can be incorporated into cardboard to turn it into a durable composite material.
Steps:
- Cut corrugated cardboard into panels slightly larger than your final dimensions. These will become the outer faces of the reinforced cardboard sheet.
- Lay cardboard panel flat and use a ruler and pencil to mark lines where wood pieces should sit. Cut notches if needed.
- Apply glue into the channels where wood will be inserted. Place cut dowels, squared wood strips, or thin boards into the glued notches.
- Top with a second cardboard panel and press together firmly. Use clamps or weights to hold in place while glue dries.
- Once dry, trim outer cardboard edges even with the inserted wood pieces using a utility knife.
- Add glue between layers and use staples to further secure for extremely rigid results (optional).
The wood increases stability exponentially while the cardboard keeps everything lightweight. This forms an ultra-durable cardboard/wood composite.
Why It Works
The wooden pieces bonded within the cardboard provide ridged structure. This allows the material to hold its shape and bear weight without buckling. The cardboard gives it lightness while also covering up the wood pieces for aesthetics and safety.
Method #5: Corrugate Sandwiched Materials
For this technique, rigid materials like mat board, craft plastic, vinyl sheets, leather, or wood are glued between two sheets of corrugated cardboard to create a sturdy sandwiched panel.
Steps:
- Cut corrugated cardboard to size for the top and bottom of the panel. Cut the insert material slightly smaller.
- Apply glue to the front sheet of cardboard. Place the insert material on top.
- Spread glue atop the insert layer. Place the second sheet of cardboard on top and press firmly together.
- Use weights or clamps to compress the 3 layers together as the glue dries.
- Once dry, trim outer cardboard edges even with the insert material using a utility knife.
Varying the center layer material results in many different reinforced cardboard types. Use what’s on hand!
Why It Works
Sandwiching a rigid interior material (mat board, plastic, leather, wood, etc.) between two pieces of corrugated cardboard bonds everything together into one super tough unified sheet. The outer cardboard also hides and protects the inner material for a clean look.
Tips for Maximizing Durability
To achieve superior reinforced cardboard, keep these additional tips in mind:
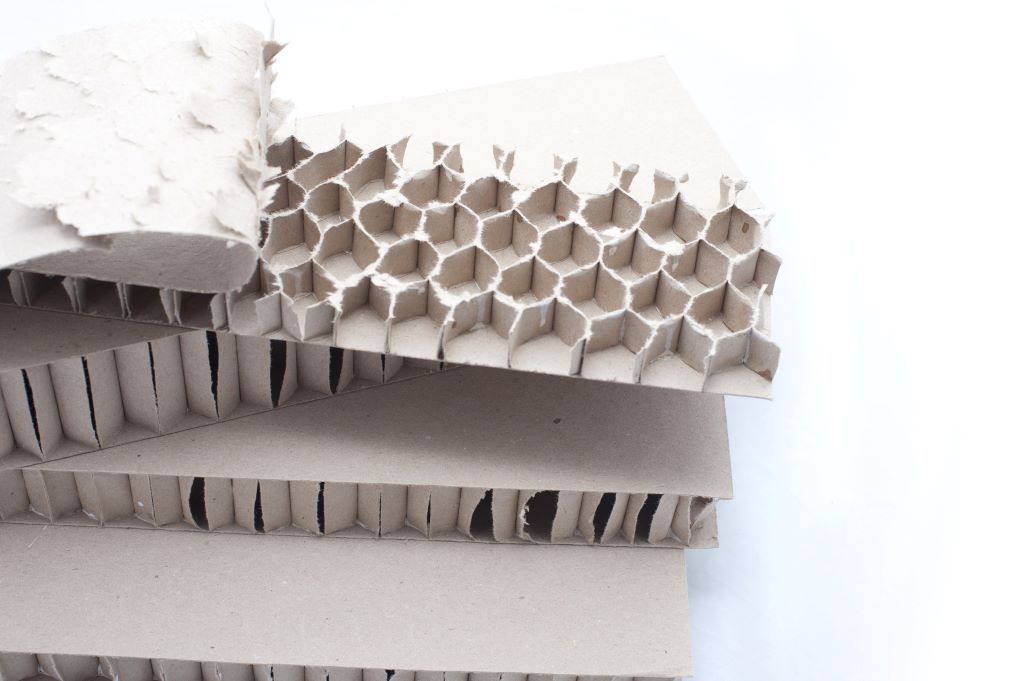
- Use corrugated cardboard rather than paperboard for best results
- Alternate cardboard ribbing direction with each layer for multi-layer methods
- Allow sufficient drying time for glue and paint (24 hours optimal)
- Handle gently until fully cured to avoid damaging rigid structure
- Avoid moisture which can weaken cardboard over time
- Test load bearing capacity and gradually increase weight
- Re-treat periodically with sealants if needed for outdoor or heavy use
With the right techniques and care, reinforced cardboard can gain incredible rigidity and strength to suit even the toughest demands! Start with basic methods like glue or tape reinforcement and work your way up as desired to create super durable homemade cardboard.
Frequently Asked Questions
What type of cardboard works best?
For optimum rigidity, corrugated cardboard with a rippled internal structure works far better than paper cardboard. The corrugation allows glue and sealants to soak in and bond rigidly. Look for thicker corrugated boxes rated for shipping and moving.
Can reinforced cardboard get wet?
Plain cardboard falls apart easily when wet. Once properly reinforced, it gains some moisture resistance. However, it’s still best to avoid soaking reinforced cardboard as moisture can still degrade the internal fibers over time. Look for outdoor rated sealants if it will be exposed to rain and water.
How long does reinforced cardboard last?
Durability depends on the reinforcement technique used and how much weight or stress is applied. With multiple glued layers and an acrylic sealant, reinforced cardboard can potentially last for many years if kept dry and handled gently. For pieces that need to endure heavy activity, incorporate wood pieces for a longer lifetime.
Can reinforced cardboard be reused?
One of the benefits of cardboard is that it can be recycled. However, once reinforced with glue, paint, and other materials, it can be more difficult to re-break down and may not be recyclable. But non-treated cardboard pieces can be composted or recycled as usual.
Is there a weight limit for reinforced cardboard?
There’s no definitive limit, and again durability depends on the reinforcement techniques used. Typically reinforced cardboard should only be used for light-duty to medium-duty purposes, not extremely heavy materials. Test weight bearing capacity gradually. Inserting wood strips and cross-supports allows for greater weight capacities.
Reinforced Cardboard Offers Myriad Possibilities
With this broad array of techniques, the possibilities are endless for turning plain cardboard into a rugged material suitable for a wide range of applications both functional and aesthetic. Only your imagination limits what’s possible!
The methods range from easy entry-level steps like gluing or taping up to more advanced wood and composite inclusion methods. With some simple supplies, patience, and creativity, cardboard can transform into a super strong substance for crafts, storage, building projects, transportation, shipping, outdoor signage, and so much more.
While standard cardboard performs poorly when wet, overly flexed, or used for heavy objects, the reinforced versions can stand up to all of this and more while still maintaining cardboard’s inherent low-cost and accessibility. Similarly, adopting eco-friendly practices such as recycling plastic with these 10 tips can significantly contribute to reducing environmental impact.
With the ability to cut, shape, paint, and incorporate other materials into reinforced cardboard, specialized pieces can be crafted for virtually any need imaginable. So don’t throw away those old boxes and scraps—breathe new life into cardboard by turning it into a versatile construction material that’s both durable and economical.
The next time a project calls for strength, rigidity and resilience, remember these techniques for giving cardboard an ultra-powerful makeover! With reinforced cardboard, a world of new possibilities opens up.