
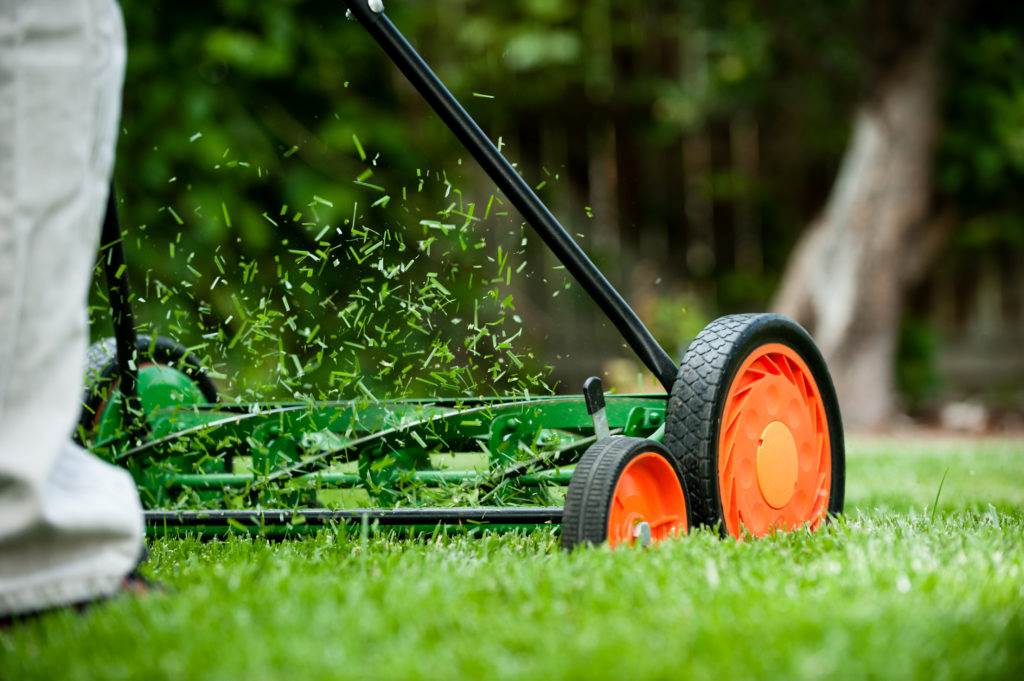
Creating a beautifully striped lawn, like those seen on professional sports fields, is achievable for homeowners with some DIY ingenuity. A lawn striping kit bends grass blades in different directions, reflecting light to create alternating light and dark patterns. With a modest budget and basic tools, you can build your own striping kit to elevate your lawn’s appearance. This guide, inspired by resources like Boyers Lawn Care, provides a detailed, people-first approach to crafting a custom lawn striping kit while ensuring safety and efficiency.
Why Stripe Your Lawn?
Lawn striping enhances curb appeal, giving your yard a polished, professional look. The technique doesn’t cut or damage grass but manipulates its direction to create visual contrast. Stripes can make small lawns appear larger and add sophistication to any outdoor space. However, safety is paramount when using lawn mowers or related equipment. To avoid grass cutters hazard, always follow proper precautions, such as wearing protective gear and checking equipment before use. Additionally, striping is versatile, compatible with most lawn mowers, and can be customized to create patterns like stripes, checkerboards, or waves.
Materials Needed for Your DIY Lawn Striping Kit
Before starting, gather the necessary materials. Most are affordable and available at hardware stores or online. Here’s what you’ll need:
- PVC Pipe or Roller: A 2- to 3-inch diameter PVC pipe, 24–36 inches long, works well for most mowers. Alternatively, use a lawn roller for heavier-duty striping.
- Weight Material: Sand, gravel, or water to fill the PVC pipe for added weight (10–20 pounds is ideal).
- End Caps: PVC end caps to seal the pipe and contain the weight material.
- Metal Brackets or Clamps: To attach the roller to your mower’s rear.
- Bolts and Nuts: For securing brackets to the mower frame.
- Rope or Chain: To create a flexible connection between the roller and mower, if preferred.
- Drill and Drill Bits: For making holes in the PVC pipe or brackets.
- Measuring Tape and Marker: For precise measurements.
- Screwdriver or Wrench: To tighten bolts and clamps.
These materials cost between $20 and $50, depending on what you already own. For reference, LawnStarter suggests similar components for DIY striping kits, ensuring accessibility for beginners.
Step-by-Step Guide to Building Your Lawn Striping Kit
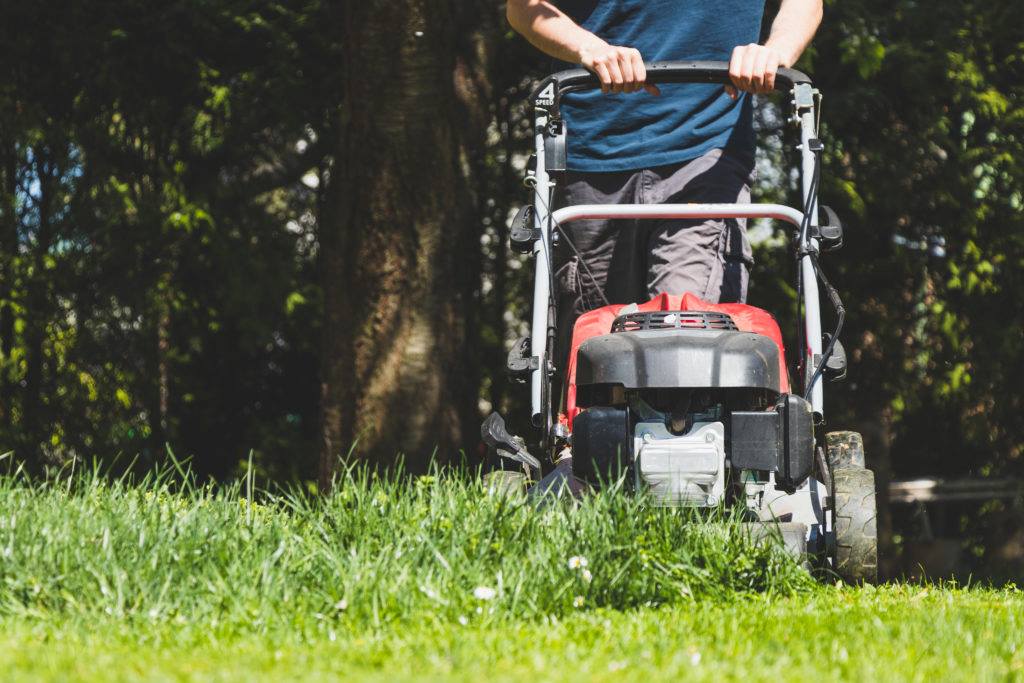
Step 1: Measure Your Mower
Start by measuring the width of your mower’s rear deck. The striping roller should be slightly wider than the cutting deck to ensure full coverage. For example, a 21-inch mower deck pairs well with a 24-inch roller. Use a measuring tape to confirm dimensions and mark the PVC pipe or roller accordingly.
Step 2: Prepare the Roller
If using a PVC pipe, cut it to the desired length using a hacksaw. Drill small holes at one end to allow filling with sand or gravel. Fill the pipe to add weight, which helps press grass blades down effectively. Seal both ends with PVC caps, securing them with adhesive for durability. Alternatively, if using a lawn roller, ensure it’s clean and free of rust.
Step 3: Attach Brackets or Clamps
Secure metal brackets or clamps to the mower’s rear frame. Position them to hold the roller close to the ground, about 1–2 inches above it, to avoid scalping the lawn. Drill holes in the brackets if needed, then use bolts and nuts to fasten them to the mower. Ensure the setup is stable but allows the roller to move freely.
Step 4: Connect the Roller
Attach the roller to the brackets using bolts or a rope/chain for flexibility. A chain allows the roller to follow the mower’s path smoothly, adapting to uneven terrain. Test the connection to ensure it’s secure yet allows movement. For inspiration, Popular Mechanics recommends adjustable connections for consistent striping.
Step 5: Test Your Striping Kit
Mow a small section of your lawn to test the kit. Start with straight lines, mowing in one direction, then turn and mow in the opposite direction to create alternating stripes. Adjust the roller’s weight or height if the stripes aren’t distinct. Practice different patterns, like diagonals or checkerboards, to find your preferred style.
Tips for Effective Lawn Striping
To achieve professional-quality stripes, consider these tips:
- Mow at the Right Height: Set your mower to a height of 2.5–3.5 inches for most grass types to ensure healthy growth and clear striping.
- Vary Patterns: Alternate mowing directions weekly to prevent grass from leaning permanently in one direction.
- Maintain Sharp Blades: Dull blades tear grass, reducing stripe clarity. Sharpen blades every 20–25 hours of mowing.
- Mow When Dry: Wet grass clumps and doesn’t stripe well. Mow in the morning or late afternoon for best results.
- Clean the Roller: Remove grass clippings from the roller after each use to maintain performance.
Safety Considerations
Safety is critical when working with mowers and DIY equipment. Always turn off the mower and disconnect the spark plug before attaching or adjusting the striping kit. Wear gloves, safety glasses, and sturdy shoes to protect against debris. Moreover, inspect your lawn for rocks or sticks that could damage the mower or roller. Regularly check bolts and connections for wear to prevent accidents.
Read Also:
California Beginner Lawn Care: Seasonal Basics to Grow a Healthy Lawn Year-Round
Dallas Garden Tools Guide Tested & Rated for Texas Gardens
Maintenance of Your Striping Kit
To ensure longevity, maintain your striping kit properly. After each use, clean the roller to remove grass and dirt. Store the kit in a dry place to prevent rust or adhesive breakdown. Periodically check brackets and bolts for tightness, especially after mowing uneven terrain. If using a water-filled roller, drain it during winter to avoid freezing damage.
Benefits of a DIY Lawn Striping Kit
Building your own striping kit is cost-effective compared to commercial options, which can cost $100 or more. It allows customization to fit your mower and lawn size. Additionally, the process is rewarding, giving you a sense of accomplishment while enhancing your lawn’s aesthetic. With proper care, your DIY kit can last for years, providing consistent results.
Common Mistakes to Avoid
Avoid these pitfalls to ensure success:
- Overweighting the Roller: Too much weight can compact soil, harming grass roots.
- Incorrect Roller Height: If too low, the roller may scalp the lawn; if too high, stripes won’t form.
- Inconsistent Mowing: Uneven speeds or overlapping passes can disrupt patterns.
- Neglecting Maintenance: Failing to clean or inspect the kit reduces its lifespan.
FAQs
How long does it take to build a lawn striping kit?
Building a basic striping kit takes about 1–2 hours, depending on your tools and experience. Gathering materials and measuring accurately are the most time-consuming steps.
Can I use a lawn striping kit with any mower?
Most push or riding mowers can accommodate a striping kit. Ensure the roller width matches your mower’s deck and that brackets can be securely attached.
How often should I stripe my lawn?
Stripe your lawn every time you mow, typically weekly during the growing season. Vary the pattern to prevent grass from leaning permanently in one direction.
Do I need special grass for lawn striping?
Cool-season grasses like fescue, ryegrass, or bluegrass stripe best due to their flexibility. Warm-season grasses like Bermuda can work but may produce less distinct stripes.
How do I store my striping kit in winter?
Clean the kit, remove any water from the roller, and store it in a dry, sheltered area to prevent rust or damage from freezing temperatures.
Conclusion
Creating your own lawn striping kit is an affordable, rewarding way to achieve a professional-looking lawn. By following this guide, you can build a custom kit tailored to your mower, ensuring stunning stripes with minimal cost. Prioritize safety to avoid grass cutters hazard, maintain your equipment, and experiment with patterns to keep your lawn vibrant. With a bit of effort, your yard can become the envy of the neighborhood.