
As summer approaches and temperatures rise, staying extraordinary becomes a priority. Running your air conditioner constantly can get expensive, so finding an energy-efficient way to keep it cool is vital. One inexpensive option is converting an old furnace blower motor into a heavy-duty fan. With a few simple parts and basic mechanical skills, you can create your high-powered fan to keep you comfortable all season long.
Overview of the Process

Converting a blower motor into a stand-alone fan is a relatively straightforward DIY project. Here’s a quick rundown of the process:
- Find a discarded furnace blower motor
- Test the motor to make sure it still works
- Remove the motor from the furnace housing
- Obtain a basic motor mount and fan blades
- Assemble the mount and attach the blades to the motor
- Secure the motor assembly to the mount
- Connect the wiring and add a switch
- Test out your new homemade fan!
While the general steps are simple, there are some essential safety tips and tricks to ensure success. When considering a furnace motor fan conversion, it’s crucial to remember specific details that will walk you through the entire process safely and efficiently. Additionally, always remember to address practical concerns such as whether to set the furnace fan on or auto in winter. This consideration is critical in optimizing your HVAC system’s performance during colder months.
Step 1: Choosing the Right Blower Motor
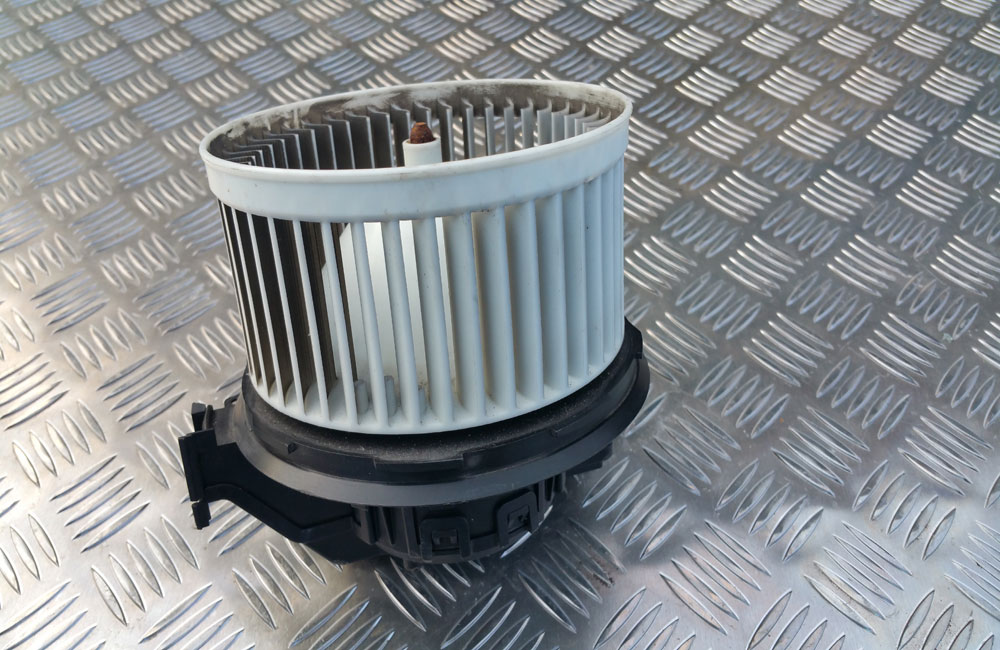
The blower motor from a furnace is ideal for converting into a powerful fan for several reasons:
- Furnace motors are designed to produce a high volume of airflow and overcome duct resistance
- They typically operate on standard 120V household current
- Furnace blowers are easily removable once the furnace is taken out of service
- These motors are widely available and often free for the taking
The key is finding one in good working condition from a recently replaced or discarded furnace. Check around with HVAC contractors, demolition crews, or salvage yards to locate a suitable motor. You’ll want a 1/2 HP or larger single-speed motor for optimal airflow. Dual-speed motors can work as well but require more complex wiring.
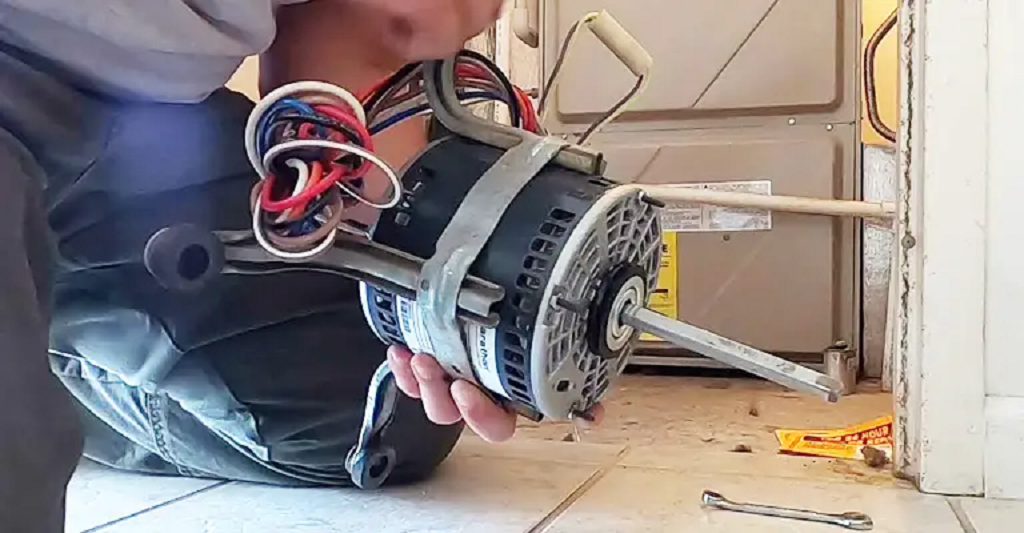
Test the motor before removing it from the furnace housing. Spin the blower wheel by hand to see that it rotates freely, and plug it in to verify it powers up and runs properly. This simple test will save you lots of trouble down the road.
Step 2: Removing the Blower Motor
Once you’ve found a working furnace blower motor, it’s time to remove it for the project. This step is surprisingly straightforward:
- Unplug the furnace and turn off the gas supply if applicable.
- Remove the furnace access panel to expose the blower motor.
- Disconnect any wires running to the blower motor. Make sure to label each wire for reconnecting later.
- Unbolt the blower motor from the housing, usually with 3-4 bolts.
- Note the direction of the blower wheel on the shaft before sliding the motor out.
And that’s it! With the blower motor removed, you can now build the fan stand.
Step 3: Assembling the Motor Mount
The motor must be securely mounted to operate safely and properly as a stand-alone fan. You’ll want a sturdy metal mount with an open frame design for maximum airflow. Here are the key components:
- Metal mounting brackets or plate – Attach the blower motor to this. Can be custom fabricated or purchased pre-made
- Support legs – Long bolts, threaded pipe, or tubing to elevate the fan to the desired height
- Mounting base – Square or round metal plate with holes to attach the legs
- Grommets – Rubber inserts to protect the motor wires from abrasion at entry points
Assemble the mounting hardware, tightening everything securely but avoiding distorting or bending the components. The base should keep the motor perfectly perpendicular when installed.
Step 4: Attaching the Fan Blades
The key to generating maximum airflow is the fan blade design and angle. Optimal blade pitch combined with the motor’s RPM creates a straight column of spinning air. Use these specifications for best results:
- Blade Size: 6-12 inches longer than the blower wheel diameter
- Blade Angle: Match the angle of the original blower wheel, usually around 45°
- Number of Blades: Keep the actual number of blades or add up to 2 more for more airflow
- Blade Material: Lightweight metal or plastic
- Blade Shape: Curved foil or airfoil shape
Attach the blades directly to the blower wheel using the existing holes and hardware. Ensure all bolts are tight and blades are correctly oriented. Now it’s starting to look like a real fan!
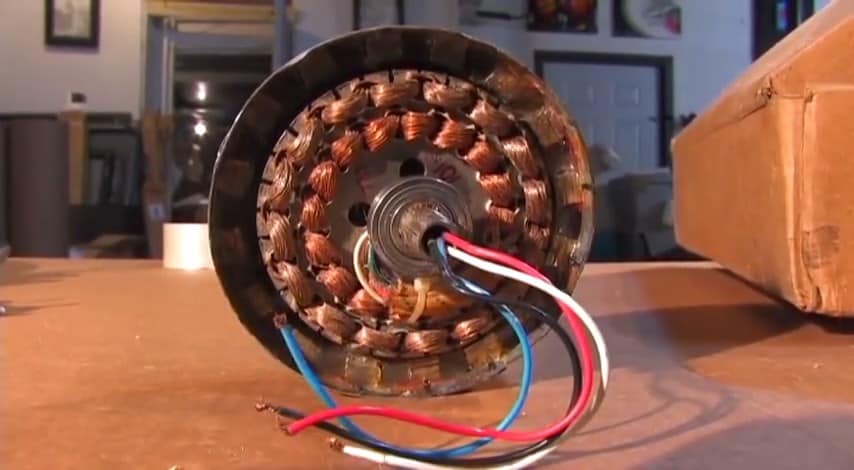
Step 5: Wiring the Motor
The furnace blower motor likely had multiple wires for various speed settings and controls. For a primary stand-alone fan, you only need power and ground wires.
- Cut off any unneeded existing wires down to the motor housing.
- Attach the power wire (usually black) and ground wire (usually white) to the motor’s wiring box.
- Secure wires with proper-sized grommets where they pass through the metal frame.
- Add a wall mount or foot pedal style switch to turn the motor on and off safely.
Use 14 gauge or larger wires and proper connectors for safe operation. Double-check the polarity before powering everything on!
Step 6: Preparing and Installing the Fan
Before enjoying cool breezes from your new furnace blower fan, follow these final tips:
- Give the fan blades a test spin to ensure smooth rotation and clearance
- Position the fan on a sturdy surface and clear of obstructions
- Angle the fan upwards slightly so airflow is directed where you need it
- Ensure all mounting hardware is tight and parts are correctly aligned
- Have an electrician inspect the wiring if in doubt
With everything appropriately secured, go ahead and fire it up! Your homemade furnace fan should move some serious air to keep you cool this summer.
5 Key Safety Tips
Converting a blower motor into a stand-alone fan is an inexpensive way to create a high-powered fan, but the project does involve electricity, moving parts, and power tools. Keep these safety guidelines in mind:
- Unplug the motor before any work. Always disconnect power before disassembling the furnace or working on the motor.
- Wear protective gear. Use gloves, eye protection, and a mask when removing the motor and handling metal parts.
- Check for binding. Make sure the blower wheel spins freely without rubbing to prevent overheating.
- Secure loose clothing. Avoid wearing dangling jewelry or loose clothes that could get caught in moving parts.
- Isolate hot wires. Use wire nuts, electrical tape, and grommets to prevent exposed wires from shortening or being shocked.
Basic safety measures will prevent electric shocks, injuries, or other accidents on this DIY furnace blower fan project.
Common Questions
Q: How much does making a fan from a furnace blower cost?
A: The cost can range from $50 to $150, depending on whether you have access to a free used furnace motor and what components are needed for the mount and blades.
Q: What size motor is best?
A: Look for a 1/2 HP or larger single-speed motor for optimal airflow. Larger 3/4 to 1 HP motors work even better.
Q: Can you reverse the motor rotation?
A: These motors can be reversible, but it takes rewiring the engine and changing the blade pitch. Easier to keep the original rotation.
Q: How long does the project take?
A: Typically, it takes 1-3 hours, not counting the time, to find the suitable motor. More time may be needed to fabricate custom mount parts.
Q: Are any special skills or tools required?
A: Basic mechanical skills, power tools for cutting/drilling, and electrical knowledge for rewiring are handy. An electrician should inspect the finished wiring.
Conclusion
Converting an old furnace blower into a stand-alone fan is a great way to save money and reduce waste. These heavy-duty motors are designed for maximizing airflow and are readily available from scrapped heating systems. You can create a high-velocity fan for keeping cool this summer with simple mechanical work plus basic motor mounts and blades. Pay close attention to the electrical aspects and moving parts during assembly for safety. The result is a custom high-powered fan on the cheap!