
Key Takeaways
- A used car pre purchase inspection checklist protects you from costly hidden problems.
- Always inspect a car in daylight and on a dry surface.
- Check the body, engine bay, interior, and tires before you drive.
- Test drive for at least 20 minutes on highways and rough roads.
- A professional inspection costs $150 to $250 and often pays for itself.
A shiny car can still hide a broken heart. Sellers wash and wax cars to hide rust, leaks, and worn parts. Therefore, smart buyers never trust their eyes alone. They follow a plan. I learned this the hard way. A quick tread check once saved me from a car with worn brakes and a bent wheel. Since then, I never skip a checklist. As automotive consumer watchdogs like TradeCarHub constantly warn, skipping basic verification is the fastest way to buy someone else’s expensive headache. This used car pre-purchase inspection checklist turns you into a careful detective. You will learn what to look at, what to listen for, and when to walk away. Additionally, you will see why a $175 inspection can save you thousands. Each step below is simple, quick, and needs no special tools. However, together they cover almost everything that matters before you sign anything.
Why a Pre-Purchase Inspection Matters
Buying a used car without checking it first is like buying a house without looking inside. The outside tells you very little. Repairs on modern cars cost more than ever, and one hidden fault can wipe out your savings.
The numbers back this up. AAA research shows 64 million American drivers, about one in three, cannot pay for an unexpected car repair without going into debt. Additionally, Carfax data shows more than 60 million cars on U.S. roads carry an unfixed safety recall. You can check any vehicle for free on the NHTSA recall lookup page.
A careful inspection also gives you power at the negotiating table. Finding a worn tire or a leaking shock is not always a deal breaker. Instead, it becomes a reason to lower the price. As a result, the time you spend checking pays you back twice. It prevents bad purchases, and it shrinks good ones’ costs. In short, an inspection is the cheapest insurance in the used-car world.
Step 1: Inspect the Exterior
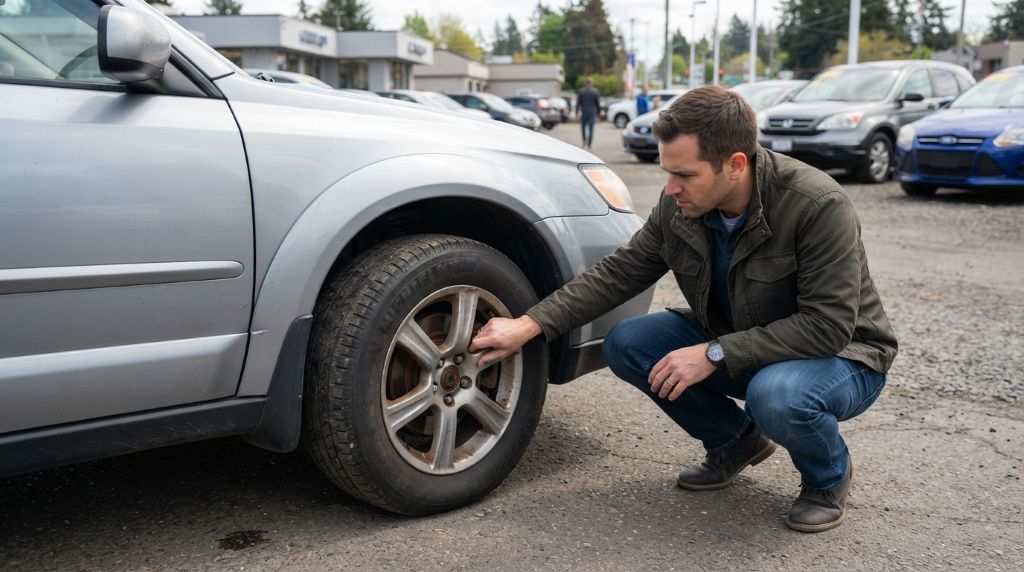
First, view the car in daylight. Never judge paint or bodywork under parking-lot lights. Walk around the car slowly, then repeat the loop in the opposite direction. Look for the following:
- Paint match: one panel that looks newer may hide crash repairs
- Panel gaps: uneven spaces between doors and fenders hint at accident damage
- Rust: check wheel arches, door bottoms, and rocker panels
- Tires: all four should wear evenly; mismatched brands suggest poor care
- Glass and lights: scan for cracks, chips, and foggy lenses
- Under the car: dark spots on the ground mean active leaks
Try the penny test on the tires. Place a penny into the tread with Lincoln’s head down. If you can see the top of his head, the tire is worn out. Additionally, check the tire age code on the sidewall. Tires older than six years crack and lose grip, even with good tread.
Crouch behind the car and look along each body line. Wavy reflections often reveal hidden body filler. Therefore, take your time here. Ten careful minutes outside can reveal what a casual glance never will.
Step 2: Look Under the Hood
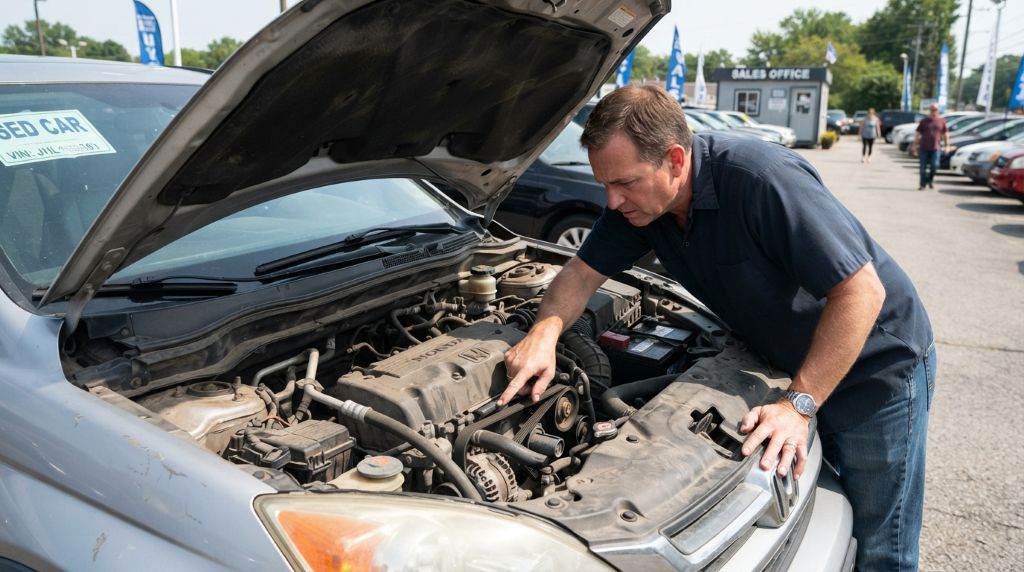
Ask the seller not to warm up the car before you arrive. A cold engine tells the truth. Warm engines hide hard starts, rough idles, and strange noises.
Open the hood and start with the oil. Pull the dipstick and check the level and color. Fresh oil looks light brown. Thick, dark oil means poor maintenance. Worse, a milky or chocolate-milk color means coolant is mixing with oil. That often points to a blown head gasket. Next, remove the oil cap and look underneath. White crust there is another bad sign.
Then check the other fluids:
- Transmission fluid: should be pink or red, never dark or burnt
- Brake fluid: should sit between the min and max lines
- Coolant: should be bright, with no floating oil or rust
- Power steering fluid: low levels can mean leaks
After that, inspect belts and hoses for cracks or swelling. Look at the battery terminals for white, crusty buildup. Finally, smell the air. A sweet smell means coolant leaks, while a burnt smell means trouble ahead. Therefore, if the engine bay looks messy or smells wrong, ask questions before you continue.
Step 3: Check the Interior
The cabin tells you how the car was truly treated. Sit down first and breathe. A musty smell often means water damage or hidden leaks. Lift the floor mats and check the carpet for dampness or stains. Additionally, strong air fresheners can be a trick. Some sellers use them to mask smoke or flood odors.
Next, test every switch and button:
- All power windows and door locks
- Air conditioning and heater on full power
- Radio, touchscreen, and backup camera
- Turn signals, wipers, and horn
- Every seat adjustment and seatbelt latch
Then watch the dashboard. Turn the key to the on position, and the warning lights should flash and then go off. However, an airbag light that never turns on may be unplugged to hide a fault. That trick is common and dangerous.
Also, compare wear against the mileage shown. A car with 30,000 miles should not have a polished steering wheel or worn pedal rubber. Those signs suggest the odometer rolled back. Therefore, let your hands confirm what the dash claims.
Step 4: Test Drive the Right Way
A quick drive around the block is not enough. Plan a route of 20 to 30 minutes. Include city streets, a highway, and a rough road if possible. Start the engine while it is cold and listen for rattles or knocking.
During the drive, focus on these points:
- Brakes: the pedal should feel firm, and the car should not pull to one side
- Steering: the wheel should stay straight with hands relaxed
- Acceleration: smooth power, with no hesitation or jerking
- Transmission: quick, quiet shifts with no clunks
- Noise: listen for whines, hums, or clicks during turns
After the drive, park and look under the car again. Fresh drips on the pavement tell you what the engine hides when parked. Check the exhaust too. Blue smoke means burning oil, while white smoke that never fades means coolant trouble.
Additionally, watch the temperature gauge. It should sit steady in the middle, never climb. If anything feels wrong, note it. Small complaints today often become big repair bills tomorrow. Therefore, never rush this step, even when the seller seems impatient.
Step 5: Get a Professional Inspection
Your own check catches many problems, but it cannot catch them all. A mechanic can lift the car, see the frame, and spot leaks hidden by plastic covers. That is why a professional inspection is the final step in any used car pre purchase inspection checklist.
A typical inspection costs $150 to $250, and many AAA-approved repair shops offer this service. You can find a trusted shop through the AAA Auto Repair network. The mechanic should check the brakes, suspension, engine, exhaust, and frame, then provide a written report.
Here is a story from my own life. In 2021, I found a 2014 Civic online at a great price. The body looked perfect, and the seller seemed honest. I paid $175 for a professional inspection anyway. The mechanic found a slow head gasket leak hidden behind clean engine covers. The repair would have cost about $1,900. The seller offered a small discount, but I still walked away. The car needed more than money. It needed trust, and that was gone.
Also, review the paperwork before you decide. Match the VIN on the title with the car. Read the service records, and confirm there are no open recalls. Therefore, bring every document to the mechanic as well.
Red Flags That Should Stop the Deal
Some warning signs deserve no second chance. Walk away if you notice any of the following:
- The seller refuses a third-party inspection
- The VIN on the title does not match the car
- Warning lights glow during the test drive
- Milky oil or sweet smells under the hood
- Fresh paint on one panel with no explanation
- Salvage or rebuilt titles with unclear paperwork
- Strong air fresheners masking odd odors
- Missing service records with no reason given
Any one of these can point to fraud or major repairs. Additionally, a pushy seller is its own warning sign. Honest sellers welcome questions. Therefore, trust your gut when something feels off. Plenty of good cars are waiting elsewhere.
Final Thoughts
This used car pre-purchase inspection checklist takes about an hour to complete. That hour can save you thousands of dollars and months of stress. Start outside, move to the engine bay, then the cabin, and finally take the car for a road test. If you’re still deciding when to shop, this guide on when is the best time to buy a new car can help you plan your purchase. After that, hand the car to a professional for the final word.
Remember my Civic story. A small fee and a careful eye saved me from a $1,900 repair. The same protection is available to you, so print this checklist and keep it in your pocket.
Have you ever caught a hidden fault during a car inspection? Share your story in the comments below. Additionally, share this guide with a friend who is car shopping right now.
Frequently Asked Questions
How much does a pre-purchase inspection cost?
Most inspections cost between $150 and $250. Some dealers and shops charge less for basic checks.
Can I inspect a used car without a mechanic?
Yes. This checklist covers most basics. However, a mechanic can lift the car and spot hidden frame or leak issues.
How long does a full inspection take?
Plan for about one hour on your own. A professional inspection usually takes one to two hours.
What if a dealer refuses a third-party inspection?
Refusal is a serious red flag. Honest dealers allow inspections, so consider shopping elsewhere.
When should I walk away from a used car?
Walk away from salvage titles, VIN mismatches, milky oil, or an evasive seller. Another car is always available.