
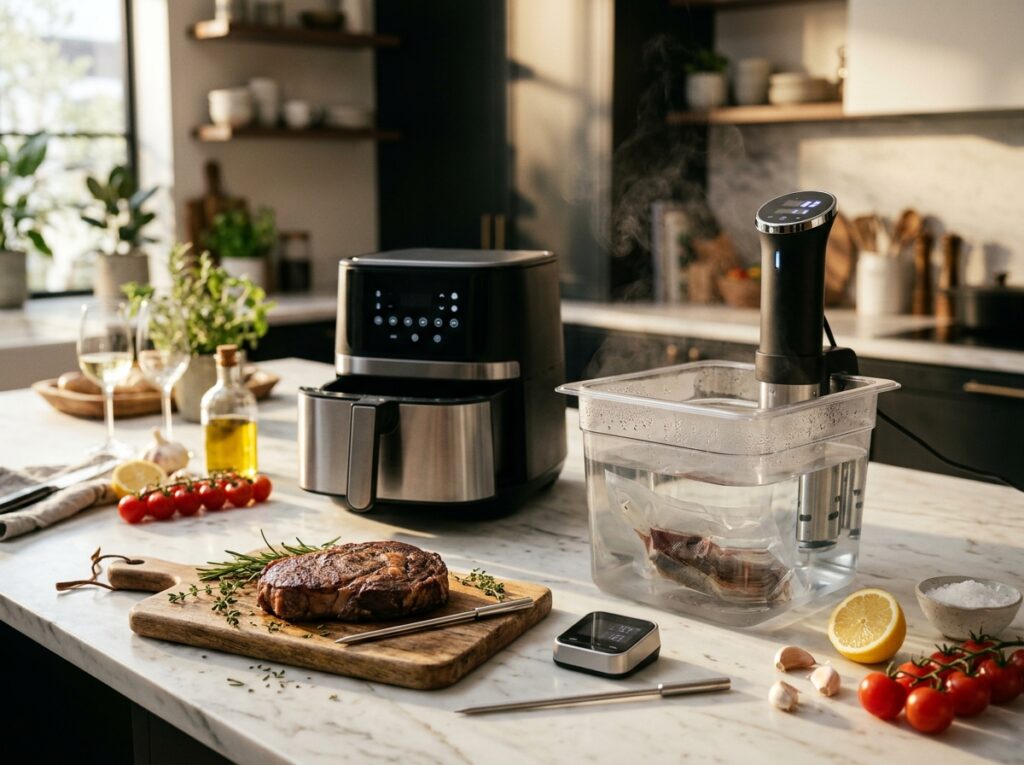
You pull a roast chicken out of the oven, and it looks perfect—golden, glossy, straight out of a magazine. You carve into the breast, and the juices run pink. Back into the oven it goes, and twenty minutes later, it’s dry and stringy. This guessing game plays out in kitchens everywhere, but it doesn’t have to. Understanding how to use kitchen thermometer //greatestjournal.com/food-and-fruits/how-to-use-meat-thermometer-correctly-for-perfect-cooking/ gear correctly is the single most reliable way to replace “looks done” with “is done.” This article walks through the gadgets that actually deliver on that promise, where they fall short, and how to choose the right one for the way you cook.
Quick Answer
The most effective kitchen gadgets for eliminating dinner guesswork are a digital instant-read thermometer (for checking doneness in seconds), a leave-in probe thermometer (for monitoring food in the oven without opening the door), and a basic kitchen scale (for precise measurement, especially in baking). Of these, an instant-read thermometer delivers the biggest improvement in day-to-day cooking because it gives you a definitive internal temperature rather than a visual guess. No gadget removes judgment entirely—you still need to know your target temperatures and allow for carryover cooking.
Key Takeaways
- An instant-read thermometer is the highest-value single purchase for reducing guesswork in meat, poultry, and fish preparation.
- Target internal temperatures, not cooking times, are what determine doneness—a 2°C difference can mean the difference between juicy and dry.
- Leave-in probe thermometers are useful for long roasts and large cuts but are overkill for thin items like burgers or shrimp.
- A kitchen scale solves a different guessing problem—volume measurement inaccuracies—and pairs well with a thermometer for baking and meal prep.
- No gadget compensates for improper placement; inserting a thermometer into fat, bone, or the wrong part of the meat gives misleading readings.
Why Temperature Beats Timing Every Time
Recipes give you a cooking time, but that time assumes a specific weight, starting temperature, oven calibration, pan material, and altitude. Change any one of those variables and the time is wrong. This is why two people can follow the same recipe and get completely different results.
Internal temperature, by contrast, tells you what is actually happening inside the food. When a chicken breast reaches 74°C (165°F), the proteins have denatured enough to be safe to eat. When a steak hits 54°C (130°F), you get medium-rare regardless of whether it took eight minutes or twelve. The thermometer converts an unpredictable process into a measurable one.
This doesn’t mean timing is useless. You still need a rough time estimate to know when to start checking. But the final decision should come from temperature, not the clock.
The Main Gadget Types and What Each One Actually Does
Digital Instant-Read Thermometers
These are the workhorses. You insert the probe, wait a few seconds (some models read in one to three seconds), and get a temperature. They’re designed for spot-checking: you probe a chicken breast, a burger, a loaf of bread, or a pot of oil, then remove the probe.
What matters when choosing one:
- Response time: A one-second read is convenient; a five-second read is fine for most home cooking. The difference matters most when you’re checking multiple pieces of meat quickly.
- Accuracy: Look for a stated accuracy of ±1°C (±2°F) or better. Cheaper models can drift by several degrees.
- Probe diameter: Thinner probes leave smaller holes in the meat and work better for thin cuts like chicken thighs or pork chops. A very thick probe can be hard to insert into a thin burger without going all the way through.
- Waterproof rating: If you want to wash the probe under a tap (and you should), check that the unit is rated for it. Many are only splash-resistant.
The main limitation: you have to open the oven or grill to use it, which lets heat escape and slows cooking slightly. For long roasts, that’s a minor annoyance. For quick-cooking items, it’s fine.
Leave-In Probe Thermometers
These have a probe that stays in the food while it cooks, connected by a cable to a display unit that sits outside the oven. Some are wireless, with the probe transmitting to a phone app or a separate receiver.
This type solves the “open the oven, lose the heat” problem. You set a target temperature, and the unit alerts you when the food reaches it. For a large turkey, a pork shoulder, or a prime rib, this is genuinely useful—you can walk away and do something else.
The trade-offs:
- The probe cable can get in the way when you’re moving the pan in and out of the oven.
- Wireless models need battery management and occasional app updates; wired models are simpler but tether you to the oven area.
- Many leave-in probes are not designed for high-heat searing or direct flame. Check the maximum temperature rating before using one under a broiler or on a grill.
- They’re less practical for thin items. You can’t easily leave a probe in a shrimp or a thin cutlet.
Infrared (Surface) Thermometers
These measure surface temperature without touching the food. They’re excellent for checking the temperature of a skillet, a griddle, oil for frying, or a pizza stone. They are not useful for determining whether meat is cooked through, because they only read the surface.
If you do a lot of stovetop searing, deep frying, or baking on a stone, an infrared thermometer adds real value. If you mainly roast and grill, it’s a secondary tool.
Kitchen Scales
A scale solves a different kind of guesswork: measurement. A cup of flour can weigh anywhere from 120g to 155g depending on how you scoop it. That variation can mean the difference between a tender cake and a dense one. Weighing ingredients removes that variable entirely.
For cooking (as opposed to baking), a scale is less critical but still useful for portioning, meal prep, and consistent results when you’re scaling recipes up or down.
How to Use a Thermometer Without Getting Misleading Readings
The gadget is only as good as its placement. A thermometer inserted into the wrong spot will give you a confident, precise, and completely wrong number.
- Find the thickest part of the meat. This is the last part to reach your target temperature. If the thickest part is done, the rest is done.
- Avoid bone and fat. Bone conducts heat differently than muscle and can give a false high or low reading. Fat also reads differently. Move the probe slightly until you’re in solid muscle.
- Insert at an angle for thin cuts. For a burger or a thin chicken breast, insert the probe from the side, parallel to the cooking surface, so the tip sits in the center.
- Wait for the reading to stabilize. Instant-read thermometers still need a moment. If the number is still climbing or falling, wait a few more seconds.
- Check more than one spot for large cuts. A whole chicken or a roast can have temperature variations of several degrees from one area to another. Check two or three spots to be sure.
- Account for carryover cooking. When you pull meat off the heat, its internal temperature continues to rise for a few minutes as heat moves from the exterior to the center. For a large roast, this can be 3–6°C (5–10°F). Pull it a few degrees below your target and let it rest.
Common Mistakes That Make Thermometers Seem Unreliable
People sometimes try a thermometer, get a bad result, and conclude the tool doesn’t work. In most cases, the problem is one of these:
- Not calibrating. Thermometers can drift over time. The ice-water method (a slurry of ice and water should read 0°C / 32°F) is a quick check. Many models have a calibration function.
- Checking too early and too often. Every time you open the oven, you lose heat. Use a leave-in probe for long cooks, or wait until you’re near the estimated time before spot-checking.
- Probing frozen or partially frozen food. The reading will be misleadingly low. Wait until the food is at least thawed before relying on a temperature reading for doneness.
- Ignoring the target temperature. A thermometer gives you data, not a decision. You still need to know that chicken needs 74°C (165°F), ground beef needs 71°C (160°F), and so on.
- Using an infrared thermometer on meat. It reads the surface, which is almost always hotter than the center. It tells you nothing about doneness.
Which Gadget Should You Actually Buy First?
If you’re starting from nothing, buy a digital instant-read thermometer. It’s inexpensive, works for almost every protein, and immediately improves your results. It’s the single tool that most directly answers the question “is this done?”
If you already have an instant-read and you cook large roasts or whole birds regularly, add a leave-in probe thermometer. It lets you monitor without opening the oven and is especially helpful for long, slow cooks.
If you bake often, add a kitchen scale. If you sear or fry often, consider an infrared thermometer for checking pan and oil temperatures.
You don’t need all of them. Match the tool to the problem you actually have.
Frequently Asked Questions
Can I use a meat thermometer to check the temperature of bread or oil?
Yes, an instant-read thermometer works for bread (look for around 96°C/205°F for most lean doughs) and for oil (most frying happens between 160°C and 190°C / 320°F and 375°F). Just be sure the thermometer’s maximum temperature rating covers what you’re measuring. Infrared thermometers are also useful for oil and pan surfaces.
How accurate are inexpensive digital thermometers?
Many budget models claim accuracy within ±1°C (±2°F), but actual performance can vary. A simple ice-water calibration check will tell you whether yours reads correctly at 0°C (32°F). If it’s off by more than a degree or two and can’t be recalibrated, replace it.
Do I need a thermometer for ground meat, or can I just cook it until it’s brown?
Color is not a reliable indicator of doneness in ground meat. Ground beef can turn brown before it reaches a safe internal temperature, and it can stay pinkish even when fully cooked. Use a thermometer and aim for 71°C (160°F) for ground beef, pork, and lamb, and 74°C (165°F) for ground poultry.
What’s the difference between an instant-read and a leave-in thermometer?
An instant-read thermometer is inserted briefly to take a spot reading, then removed. A leave-in thermometer stays in the food during cooking and monitors temperature continuously, usually with an alarm when the target is reached. Instant-read models are more versatile; leave-in models are better for long roasts and large cuts.
How do I clean a thermometer probe safely?
Wash the probe with warm soapy water and rinse it thoroughly, or use an alcohol wipe. Avoid submerging the entire unit unless it’s rated waterproof. The display and buttons usually should not get wet. Clean the probe before and after each use, especially when moving between raw and cooked foods.
Does carryover cooking really matter for small cuts like chicken breasts?
Yes, but less than for large roasts. A chicken breast might rise 2–3°C (3–5°F) during rest, while a large roast can rise 5–6°C (9–10°F) or more. For small cuts, pulling at the target temperature is usually fine. For large cuts, pull a few degrees early and let rest.
Conclusion
Removing guesswork from dinner doesn’t require a drawer full of gadgets. It requires the right one or two tools and a basic understanding of what they measure. A digital instant-read thermometer is the most practical starting point—it directly answers the question that matters most. A leave-in probe is a worthwhile addition if you cook large cuts often, and a scale is the better investment for baking. The common thread is simple: measure instead of guess, and you’ll get consistent results far more often.